Honda CX 500 Forum banner

1979 CX500C Brat Build

24K views 30 replies 12 participants last post by  Jbowers563  
#1 ·
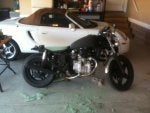
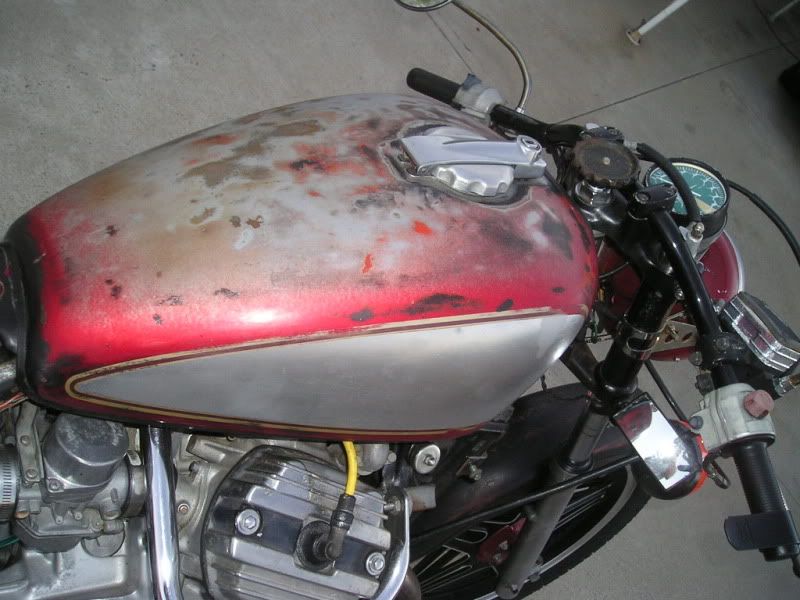
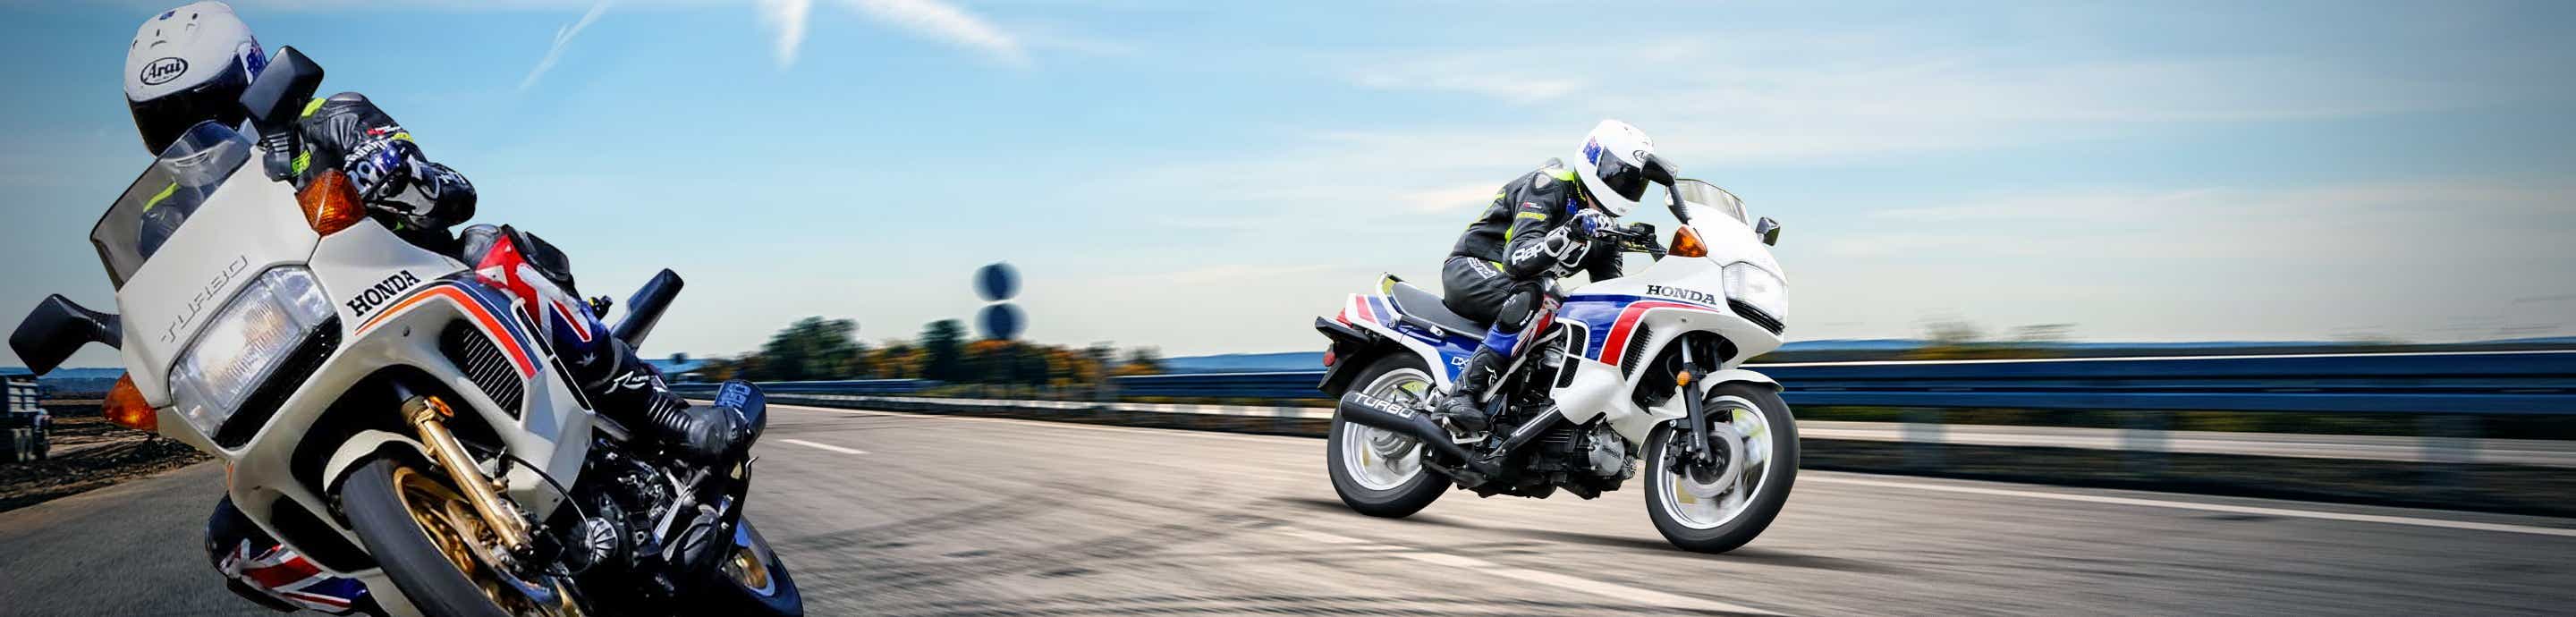
About two weeks ago I purchased the bike and have big plans for it. This thread will have all of my progress for the build as it goes on. I am drawing inspiration for the build from the Moto Mucci CX500 as well as the Wrench Monkeys CX500 brat. The first picture is of the bike once it was brought home. The second picture is of the Wrench Monkeys build and the third is of the Moto Mucci build so you can see what this build is inspired by. [attachment=4148:photo.JPG] [attachment=4149:_MG_9243.jpg] [attachment=4150:honda_cx5001.jpg]
 

Attachments

#3 ·
danklingjr, it is going to be open space.


Yesterday I started on my seat pan. I made a form for fiberglass to be laid over out of rigid green foam (can be bought at most hobby stores that sell fake flowers). Getting the shape right took longer than expected but im quite happy with the way it turned out. Now I just have to lay multiple layers of fiberglass over the foam form and add a bit to the front to cover the gas tank bolt. [attachment=4157:photo-5.JPG] [attachment=4158:photo-6.JPG] [attachment=4159:photo-8.JPG] [attachment=4160:photo-9.JPG]
 

Attachments

#4 ·
I'm liking the lines the seat is giving. Looks like it should flow really well!
 
#7 ·
New bars and grips came in today so I went ahead and threw them on. The bars are from DCC and the grips are from ebay. Just like the Moto Mucci build, I painted under grips so the white would show through the grips. While putting them on some of the paint was scraped off but it gives them a little more of the vintage look. WHile I had the top clamp on I went ahead and striped it down to bear metal. After getting the bars on though, I think they are going to be too short... But it looks pretty sick IMO.[attachment=4166:photo-10.JPG]
 

Attachments

#8 ·
Lookin good so far! I like the lines on the seat pan you have going- getting a str8 pan on that dipped frame takes good imagination!
 
#11 ·
The only way I could get those bars to come close to working was to flip them upside down push them way forward and run short moped grips.

Like this.

Rusty

Image
 
#12 ·
I had the same problem with my drag bars. I thought looked really cool but they wouldn't let me turn all the way and they hit the tank if I turned them too far.


Rusty, are those drag bars or Daytona's?
 
#13 ·
I dont think that they are drag bars because if they were it would not patter if they were turned upside down. And thanks for the complements guys.
Image
I and working on stripping the tank down currently and that should be done in another day or so. Does anyone know of longer drag bars, or would i just have to make some.
 
#15 ·
Those are super bike bars from dime city. I like organic lines, no angles. So the stock mirrors were too angular and tall. I took them and heated them with a map gas torch and hot head. straightened the angle and then added gentle swan neck like curves using a big vice, more heat tongs and hammers. My current handle bars received the same treatment and are mounted upside down. In that picture they are screwed into the mirror perches in the switch gear. Currently I have added auxiliary mirror mounts and moved them more inboard so the land over my grips instead of sticking out past them which made for a really wide bike not conducive to lane splitting.

Image


I dont have a more current picture with the new bars and more extremely bent and re positioned mirrors.

I was going to mount them from the head light like a vintage BMW but could see nothing from them.

Rusty
 
#16 ·
I too have daytonas, but flipped over. haven't ridden them yet tho. was thinking about clubmans but thought I'd try this first as a les extreme option. I like the look. how do you like the feel? I've tried drag and clip ons, which I liked. but the clips were cheap and got rusted and drags hit the tank


nieds
 
#17 ·
They offer a very aggressive riding position. Takes getting used to but not nostalgic enough for me. I bought them tried them up right didn't like em. Went to a modified inverted stock bar till I broke those and went back to these but inverted which I kinda liked. Ultimately I like my modified 79C stockers Im running now.

Rusty
 
#18 ·
Iv been working on stripping down the tank and found out it has been painted three times. Needless to say its taking a while, even with the aircraft stripper. Its been taken down to the primer, but its on there really thick and taking some time to get it off. This is where im at now, should be done by friday night.
Image
 
#20 ·
I figured it was about time for an update. Because iv been needing money for the bike i have been working a lot recently and havnt had much time to work on the bike. I did finally get my tank completely clean of paint and have now started on the front end. I will be lowering the front end just enough to get my clip ons above the triple tree. I will also be taking off the front turn signals and brackets that goes with them and be adding new brackets for the headlight. Also got some bar end mirrors from DCC that will be thrown on. My tires have arrived and will be put on soon. I got Firestone ANS 500-16 for the rear and 400-19 for the front. Unfortunately they sent me the wrong tread pattern and it will be a few more days before the correct one arrives. I will be posting a few pics to show my progress within the next day or so.
 
#21 ·
Got some time to work on the bike recently, and pulled the front end off. I sandblasted the fork lowers, caliper bracket, caliper, and the bolts to match. Also did the gas cap.
Image
I also got in my 33mm billet aluminum clip-ons that will sit on top of the triple tree once the front end is lowered to allow for it (about 1.5"). In order to get the bars to fit directly on top of the triple tree they had to be ground down a little one one section.
Image
Image
I also wanted to ask if I needed to clear coat the parts that I have sandblasted in order to keep them from rusting. I am under the impression that I only need to clear coat the gas cap because it is steel. Is this correct?
 
#24 ·
Well, I finally had a full day in the garage to work on the bike. Here is a list of all that I have done to the front end, which was the focus of this work day.

1. Front blinkers were taken off

2. Radiator cover was taken off

3. Front fender was removed

4. Flipped the gauge bracket over to lower gauges

5. Lowered the front end approximately 1 3/4"

6. Clip-ons installed over triple trees

7. Bar end mirrors installed

8. New 4.00x19 Firestone ANS tire

Here are some pics of what it looks like now

Image


Image


Image


Image


Image
 
#25 ·
I like your build so far. One thing is missing. A picture of you on it, with your feet on the pegs. I want to see how crunched up you are without rearsets. That seems to be the one item people leave out of the build when creating a café.
 
#26 ·
Yea, I was thinking of that. It is quite cramped as I am 6'3", but I dont really want rearsets. Is there anything else that I could do to solve this problem other than rearsets or adding more padding to the seat. Keep in mind that this is not the seat that will be on it once it is finished.
 
#28 ·
Just curious, but why don't you want to go with rear sets. They put your body in the correct position after leaning forward on the new, lower bars.
 
#30 ·
I had a small window of time to work on the bike today, so I went ahead and got the air box out. This week the frame after the shocks will be cut off and the rear tire will be put on, ill be out on vacation the week after and am going to have a local shop weld a plate under the seat to hold all of the electronics and also weld the frame up in the rear.
Image
Image
 
#31 ·
Iv hit the garage a little bit since my last post and got a little bit done. Iv chopped the frame, drilled holes in the rear brake housing (does not look that good) and iv got the rear tire mounted and put on as well as some minor sand blasting and clear coating. After pulling the carbs to re-jet i realized i ordered 88 jets and not 90s. Can I use these or do I need to order the 90s? i see a bit more time in the garage soon to get this thing buttoned up so stay tuned. Here is how she sits now